How to Prepare Artwork for Custom Product Labels
· 7 min read · By Rob Puzio
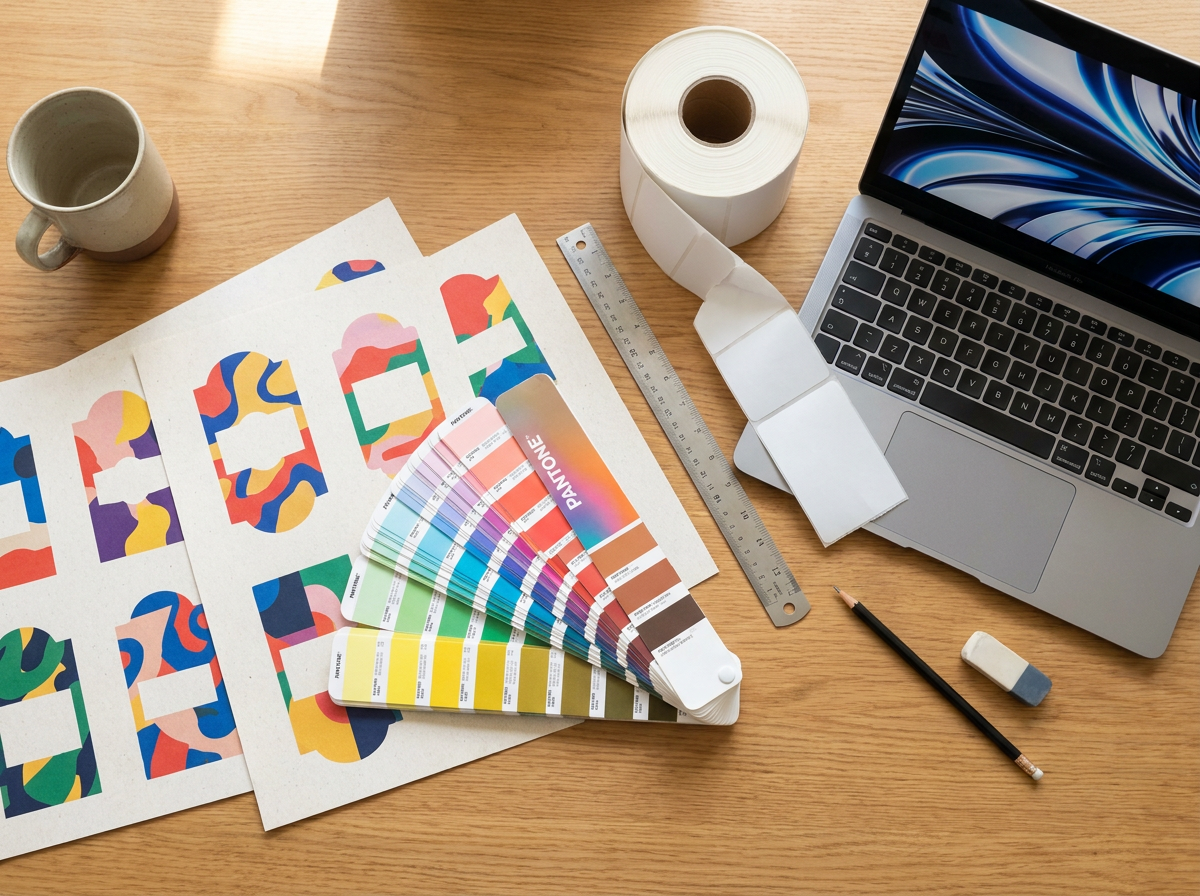
Most label delays start with the artwork file, not the printing. A file with the wrong size, low resolution or missing barcode space has to be fixed before it can run. This guide explains how to prepare artwork for custom product labels so your proof is approved quickly and the finished labels match what you planned.
Start with the exact label size
Before you open any design software, confirm the finished label dimensions. Measure the container or package surface where the label will sit, then leave a small gap around the edges so the label does not wrap over seams, ridges or caps.
Set your artboard to the finished size, then add bleed. Working at the correct size from the start prevents scaling problems later, which are a common cause of blurry text and distorted logos.
- Measure the flat area of the container, not the full circumference.
- Note the label shape: rectangle, rounded corners, circle or custom die.
- Confirm the roll direction and unwind your applicator needs.
Use vector files whenever you can
Vector files keep logos and text sharp at any size. Formats like PDF, AI and EPS are the usual choices for print. A vector logo will print clean edges, while a small web image stretched to fit will look soft.
If you only have a raster image, send the largest, highest quality version you have. Do not copy a logo off a website or a social media profile, since those files are compressed for screens.
- Best: print-ready PDF, AI or EPS with live vector shapes.
- Acceptable: high resolution PNG or TIFF at the final print size.
- Avoid: screenshots, low resolution JPGs and files pulled from websites.
Set resolution, bleed and the safe zone
Raster images and photos should be around 300 dpi at the final label size. Anything much lower can look pixelated on a printed roll.
Bleed is extra artwork that extends past the cut line so no thin white edge shows if the die cut shifts slightly. The safe zone is the inner margin where text and key graphics should stay. Ask your printer for the exact bleed and safe zone values for your die.
- Extend backgrounds and borders into the bleed area.
- Keep text, logos and barcodes inside the safe zone.
- Do not place small text right at the label edge.
Handle color the right way
Screens and printed labels do not show color the same way. A bright blue on a monitor can print duller on a label. If a brand color matters, give your printer the exact color reference, such as a Pantone number, and ask for a proof.
Build files in CMYK for standard color printing. Convert any RGB images before you send the file, and check dark text on dark backgrounds, which can be hard to read at small sizes.
- Provide Pantone references for critical brand colors.
- Convert RGB artwork to CMYK before sending.
- Keep strong contrast between text and background.
Convert text to outlines and embed fonts
If the printer does not have your font, the software will swap in a different one and change your layout. Outlining text, or embedding fonts in the PDF, locks the design in place.
Keep a copy of your editable file in case you need to change wording later. Send the outlined version for production.
- Outline text or embed all fonts in the PDF.
- Check spelling, ingredient lists and contact details twice.
- Use a readable type size for the smallest line on the label.
Related: Custom product labels
Plan space for barcodes and required text
Barcodes need a clean area with a clear margin around them, high contrast and the correct size. Do not stretch, recolor or crowd a barcode. If you sell through retailers, confirm their barcode and label requirements before finalizing the layout.
We are a Florida manufacturer with over 40 years in the label industry, and we can help with barcode registration, DataBar uploading and placement so the code scans the first time.
- Leave a quiet zone around every barcode.
- Use dark bars on a light background.
- Reserve room for any required regulatory text or PLU numbers.
Related: Barcode labels · PLU labels
Review the proof before production
The proof is your last chance to catch mistakes. Check the size, colors, spelling, barcode and orientation, then approve it in writing. Once labels are printed, changes mean a reprint.
Proofs on custom labels go out within 24 hours, and our team is open 8am to 8pm, seven days a week if you have questions about your file.
- Read every word aloud, including small print.
- Scan the barcode on the proof if one is provided.
- Confirm quantity, roll direction and delivery address.
Related: Get a free quote
Frequently Asked Questions
What file format is best for custom label artwork?
A print-ready vector PDF, AI or EPS file is best because logos and text stay sharp. A high resolution PNG or TIFF at the final size also works.
Do I need to add bleed to my label artwork?
Yes. Extend backgrounds and borders slightly past the cut line so no white edge shows if the die cut shifts. Your printer can give you the exact bleed value.
Can you help if my artwork is not print ready?
Yes. Our in-house team can review your file, fix common problems and send a proof within 24 hours so you can approve it before production.
Need Custom Labels or Packaging Supplies?
Florida manufacturer, 40+ years of experience, proofs in 24 hours. Open 8am to 8pm, seven days a week.
Get a FREE Quote